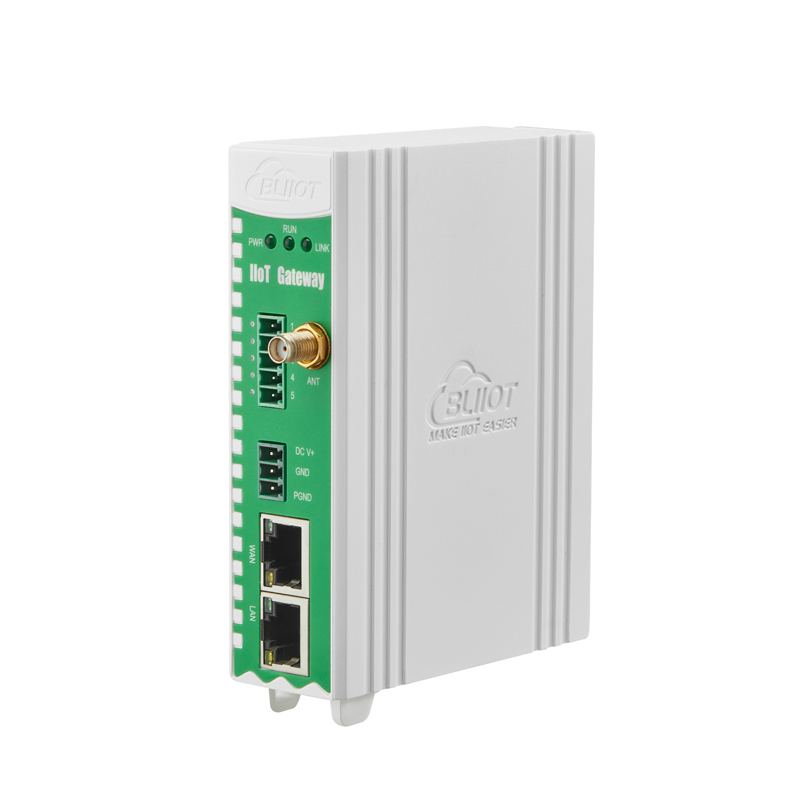
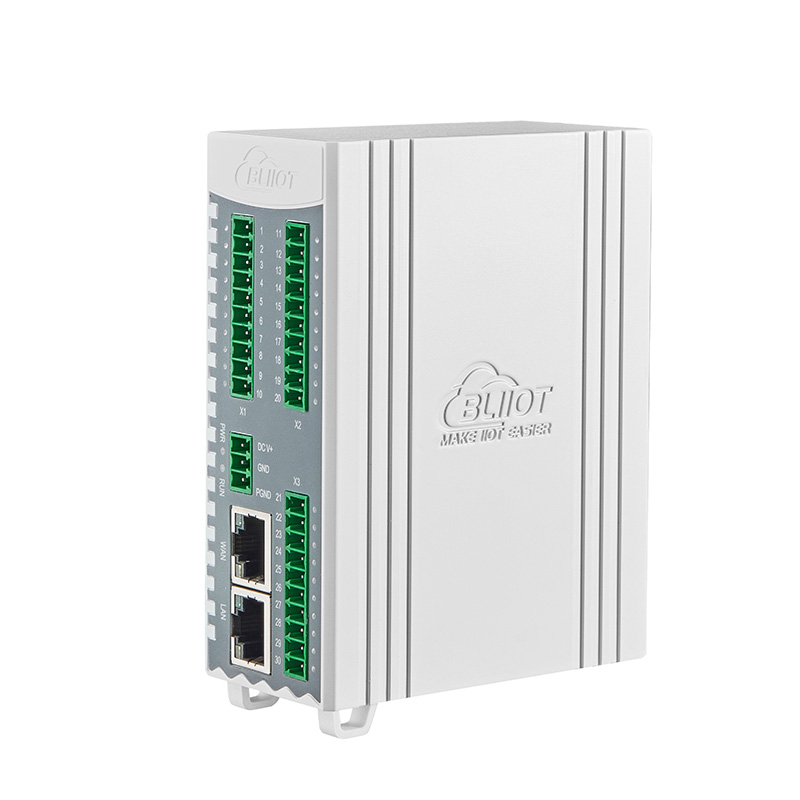

BLIIoT PLC IoT Gateway BL110 Application 45--Add Mitsubishi PLC to COM Port
FX3U has RS422 port. Connects Mitsubishi PLC FX3U with RS422 to RS232 converting cable to COM1. Configure it as below procedure.
COM1 Configuration
Connect FX3U with RS422 to RS232 converting cable to COM1. Configure it as below
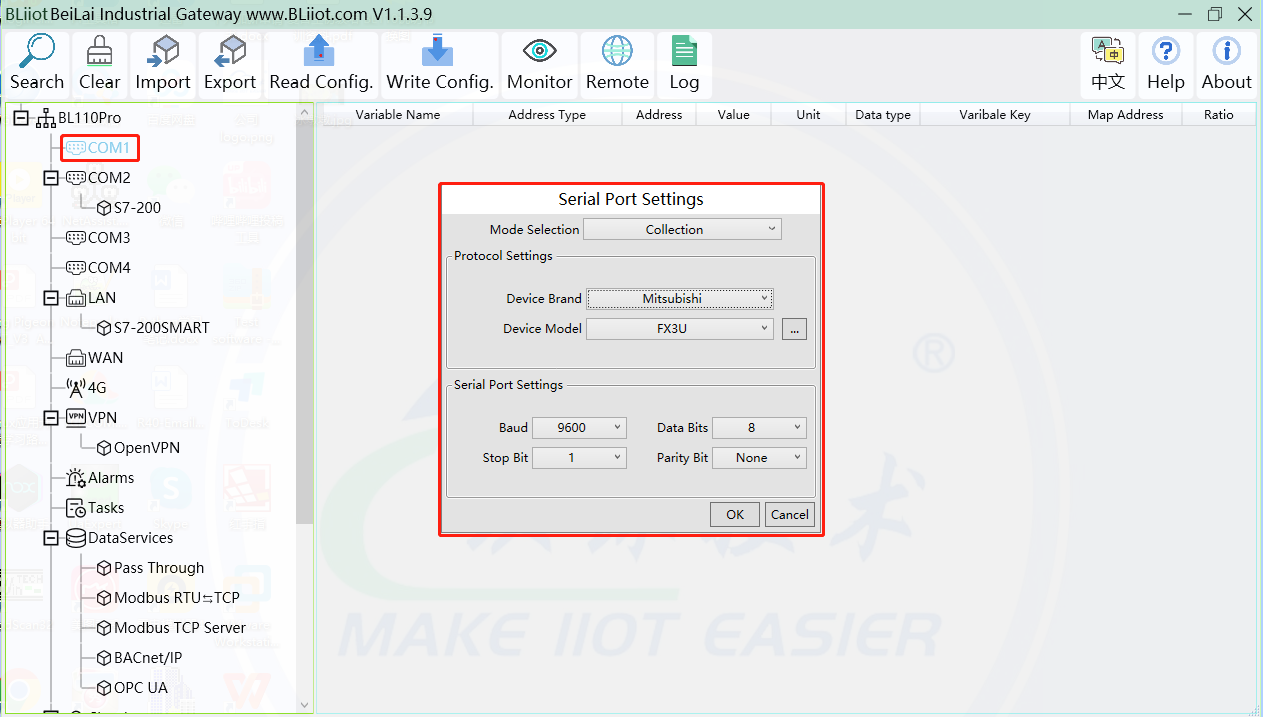
(1) Double click COM1 to enter COM attribute configuration box.
(2) Select data collection Mode: Collection
(3) Select Mitsubishi as Device Brand and select FX3U as Device Model The polling interval and timeout are set according to requirements.
(4) Follow PLC FX3U RS422 port parameters to set the same baud rate 9600, stop bit 1, data bit 7 and parity bit Even
(5) Click OK to confirm it.
Note: Click Write Configuration. COM port configuration will be effective after gateway restart automatically.
Add Mitsubishi PLC FX3U to COM Port
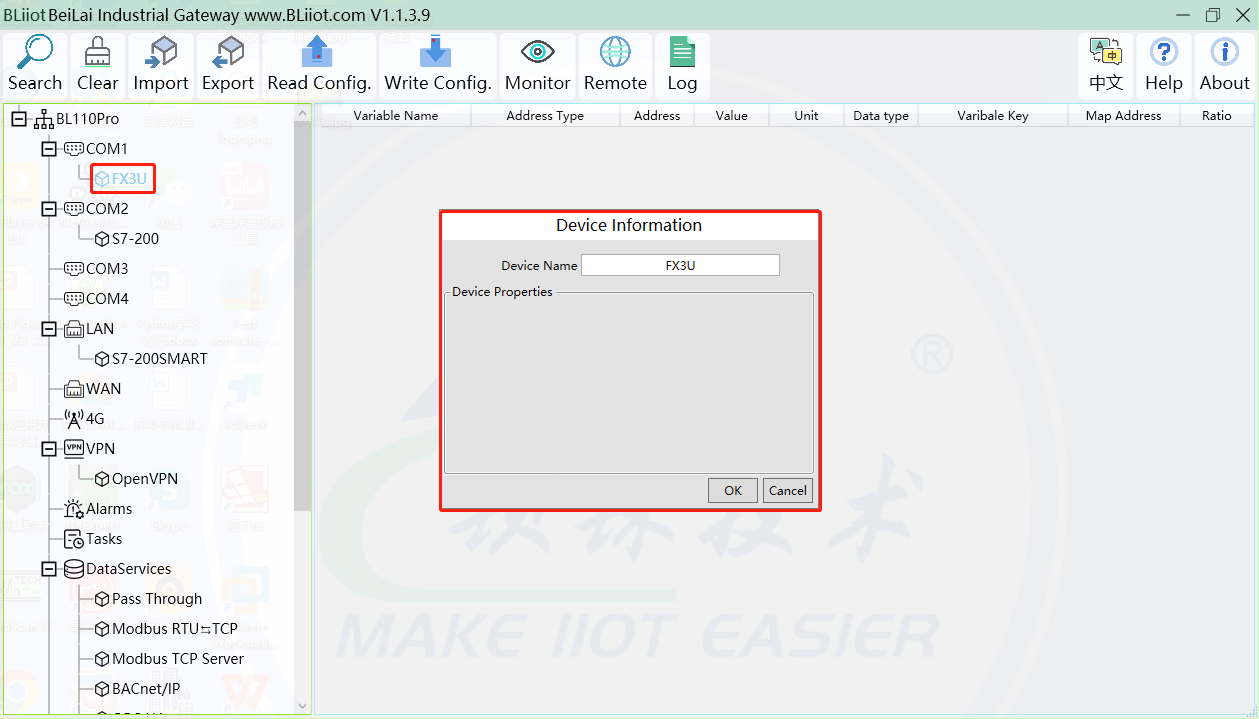
(1) Click COM1, right click it and click Add to enter device configuration box
(2) Set Device Name at random like FX3U
(3) Click OK to confirm adding FX3U PLC.
Note: After confirming configuration, FX3U device icon will appear below COM1. To add more devices, follow the same steps (1)-(3)
Note: Click Write Configuration. Gateway will restart automatically and adding PLC FX3U is effective
Add COM Port Mitsubishi PLC FX3U Datapoint
Below is example of collecting PLC FX3U datapoints Y0-Y7 & D0-7
(1) Click FX3U, move mouse cursor to the right box, right click mouse and click Add to enter datapoint configuration window
(2) Variable Name: Set datapoint name, for example, Y0
(3) Variable key, which can be filled in arbitrarily. The identifier cannot be repeated.For example: Y0
(4) Select the collection address according to the requirements and data format filled in the input gateway. OCT/DEC/HEX are octal/decimal/hexadecimal respectively. The X and Y data points of FX3U are octal, so choose octal
(5) Address Type: Select the address type of Mitsubishi PLC register. Select Y for collecting Y0 datapoint
(6) Address: Input datapint register address, for example, Y0 register address in FX3U is 0, input 0
(7) Data Type: Select data type according to PLC register. For example, select bool for Y as it’s coil type.
(8) Add Number: If consecutive addresses are collected, the same register can collect multiple addresses.
(9) Read/Write:Select from Read only and Read & Write according to PLC register.
(10) Map Address: Input the address where the collected datapoint is saved in BL110. It can be any address from 0-2000 but can’t be repeated. For example, Y0 data is saved in register address 0 of BL110
(11) Variable unit: fill in according to requirements, or not fill in.
(12) Click OK to confirm
Note: After clicking OK to confirm the configuration, datapoints will appear in the box lik above picture. If more datapoints to be added, right click the box and click Add to enter datapoint configuration box, repeat Step (2)-(12)
Note: Click Write Configuration. Gateway will restart automatically. After restarting, PLC FX3U datapoints are added successfully