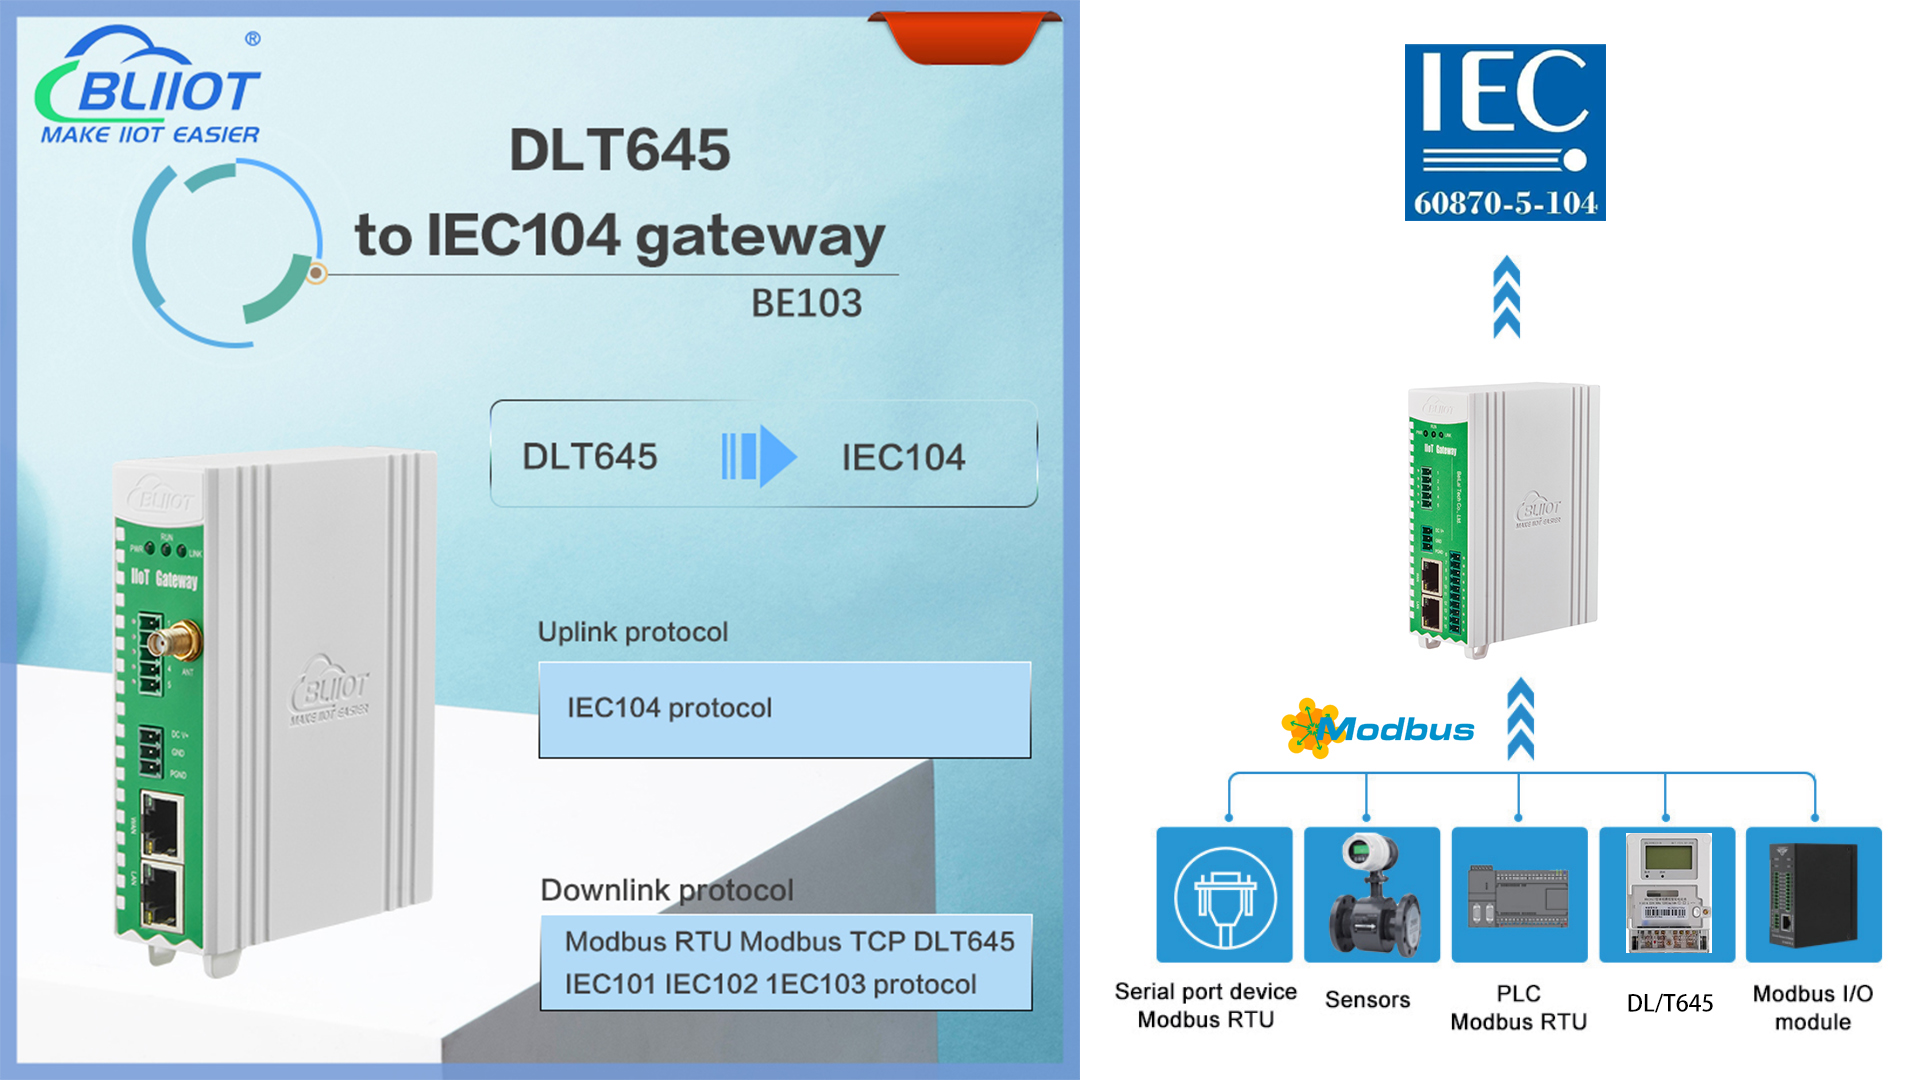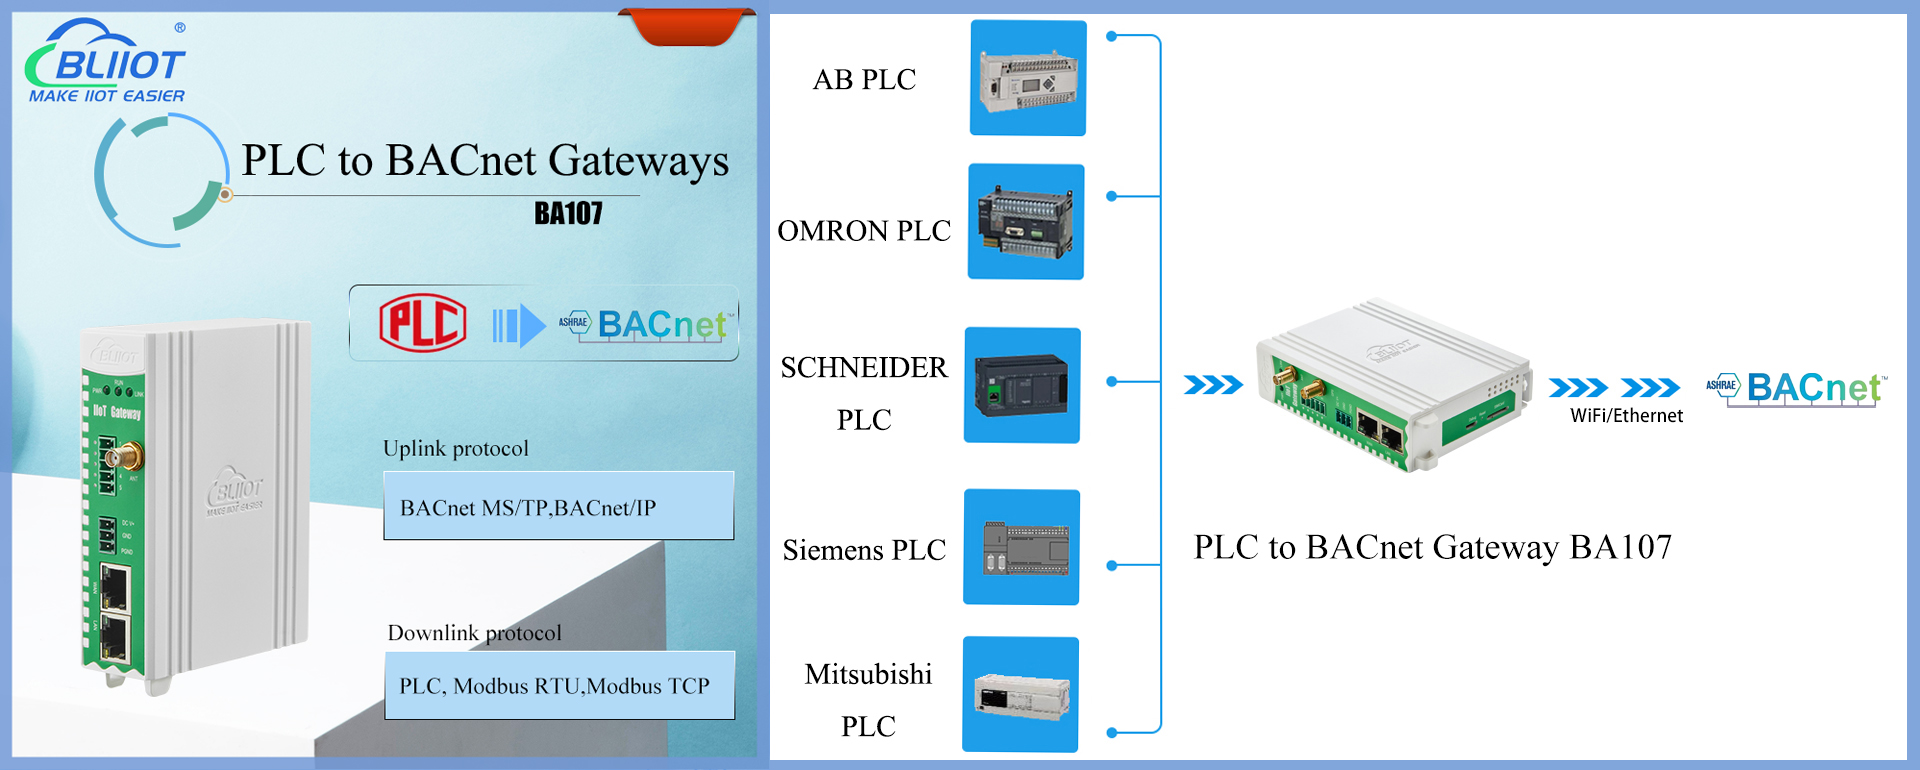
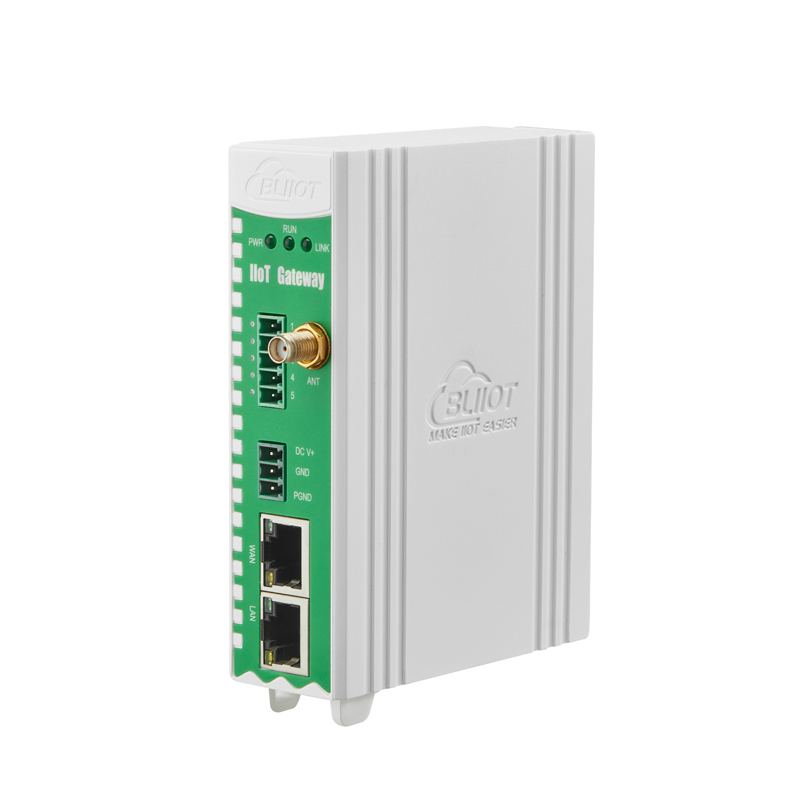
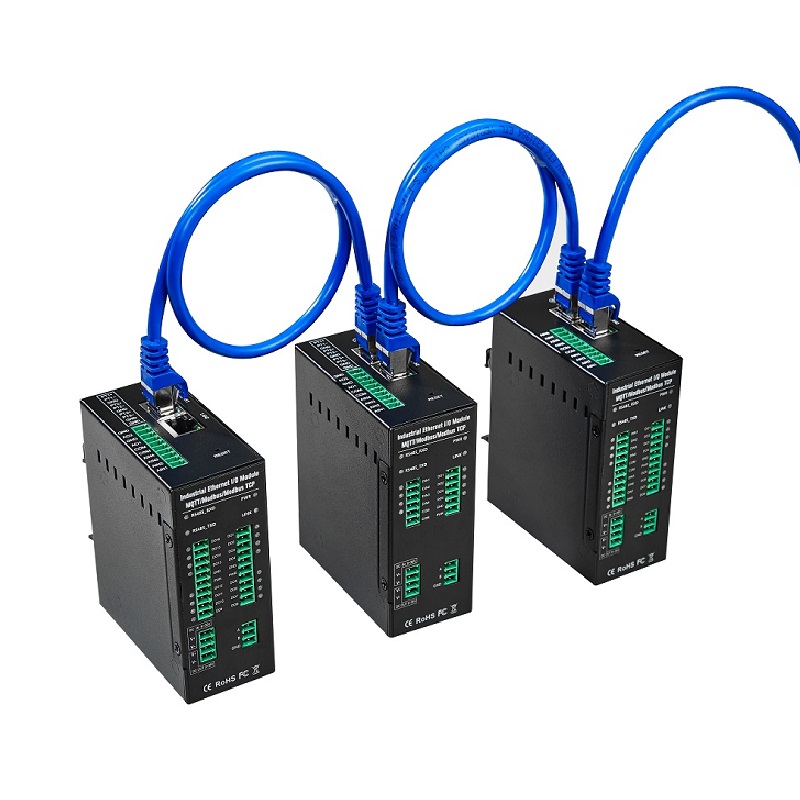
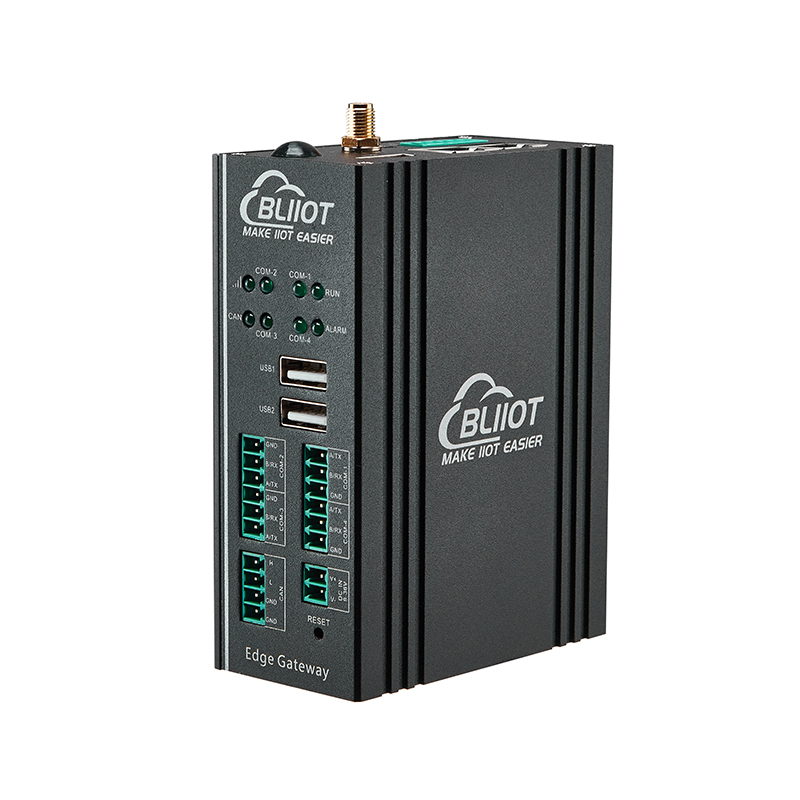

BLIIoT PLC IoT Gateway BL110 Application 47--Add OMRON PLC to COM Port
COM Port Configuration
Takes the serial port board CP1W-CIF11 and Omron CP1L-L as examples, the serial port board DIP switches 2 and 3 are ON, the DIP switch SW4 of CP1L-L is OFF, the serial port board and other DIP switches of the PLC The location is set as required. The serial port board RDA- or SDA- is connected to the gateway COM2 B, and RDB+or SDB+the gateway COM2 A. CP1L-L serial port configuration mode should select Host Link.COM2 Configuration as shown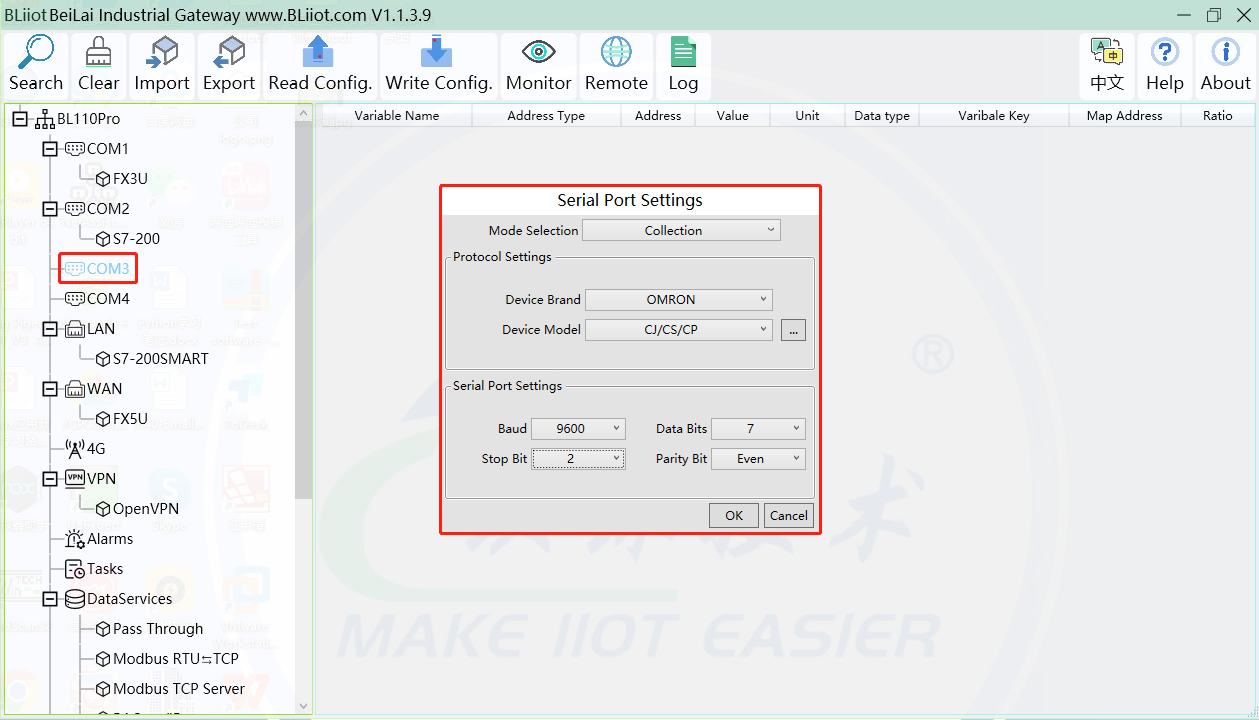
(1) Double-click "COM3" to enter COM configuration box.
(2) Mode selection: Collection.
(3) Since the example collection is Omron CP1L-L, the equipment brand: select "OMRON" from the drop-down box, and the equipment model: CJ/CS/CP. The polling interval and communication timeout are set according to requirements.
(4) The baud rate, stop bit, data bit, and parity bit are configured according to the parameters of the Omron CP1L-L serial port, which are consistent with them. Viewed from the Omron programming software, the Omron serial port selects the standard baud rate: 9600, stop bit: 2, data bit: 7, parity bit: Even.
(5) Click "OK".
Note: Click "Write Configuration" and the gateway device will restart automatically, and the configuration of the COM port will take effect after restarting.
Add CP1L to COM Port

(1) Click "COM3", click the right mouse button, click "Add" to enter device configuration box.
(2) Fill in the device name arbitrarily, such as: CP1L-L.
(3) Device address: CP1L-L serial port unit number, fill in as required, the address must be consistent with the unit number set by CP1L-L, otherwise communication will fail.
(4) Click "OK" to add the CP1L-L device.
Note: After clicking OK, the added devices will be displayed under COM2, as shown in the figure above, CP1L-L. If you want to add multiple devices, repeat steps (1)-(4).
Note: Click "Write Configuration" to restart the gateway device automatically. After restarting, the CP1L-L device with COM3 port is added successfully.
Add CP1L Data Point
Take the CIO register of CP1L as an example

(1) Click "CP1L-L", move the mouse cursor to the box, right-click the mouse, and click "Add" to enter data point setting box.
(2) Variable name: Name the data point, such as: CIO2.01.
(3) The identifier of the data point can be filled in arbitrarily. The identifier cannot be repeated. For example, the identifier of the CIO2.01 data point is filled in as CIO201. Some platform identifiers cannot recognize the decimal point.
(4) Select the acquisition address fill in the input gateway in what data format according to the requirements. OCT/DEC/HEX are octal/decimal/hexadecimal respectively. The CIO register is collected in bits with decimals, so the decimal system is selected.
(5) Address type: Select according to Omron's register, if you want to collect "CIO2.01", select "CIO_BIT".
(6) Address: The register address of the collected data point, collecting "CIO2.01", so fill in "2.01".
(7) Data type: Select according to the acquisition PLC register, such as: "CIO_BIT" is the coil type, so select "bool".
(8) Add Number: The number of acquisitions. If it is to acquire continuous addresses, the same register can be acquired multiple times.
(9) Read/Write: according to PLC register selection. Select from "Read Only", "Read and Write".
(10) Map address: Fill in the address where the collected data points are stored to the BL110 gateway device, which can be filled in at will. Mapped addresses cannot be duplicated. Range: 0-2000. Such as: collect the data of CIO2.01 and store it to the "16" register address of the BL110 gateway.
(11) Variable unit: fill in arbitrarily according to requirements, or not fill in.
(12) Click "OK".
Note: After clicking "OK", the data points will be displayed in the box as shown in the figure above. If you want to continue adding data points, right-click on the box and click "Add" to enter data point configuration box, repeat (2)--( 12) Steps.
Note: Clicking "Write Configuration" will restart the gateway automatically, and the data points added by CP1L-L will take effect only after restarting.